Horse Browser has two ways to group Trails together: Folders and Trailheads. They look similar at first and people often ask which one to use. The short answer: Folders for related research, Trailheads for whole parts of life.
Folder vs Trailhead
A Folder is a Trail that starts with a folder rather than a web page. Useful for grouping related Trails, say, every Trail you’ve opened while planning a trip, or every Trail about a single client.
A Trailhead is a top-level container with its own header. Most people end up with one for work, one for personal stuff, and maybe a third for a side project. Each Trailhead can hold Trails, Folders, and Notes.
Folders and Trailheads existed because early users kept asking for them after spending an afternoon in the sidebar. The shape of the request was always the same: "I have a lot of Trails on the same theme, I want them grouped."
How to Create A Folder in Horse Browser
-
To open a new Folder, click on the folder icon at the top of the sidebar

Opening a new folder in Horse Browser -
Write the name of your Folder and hit Return to save
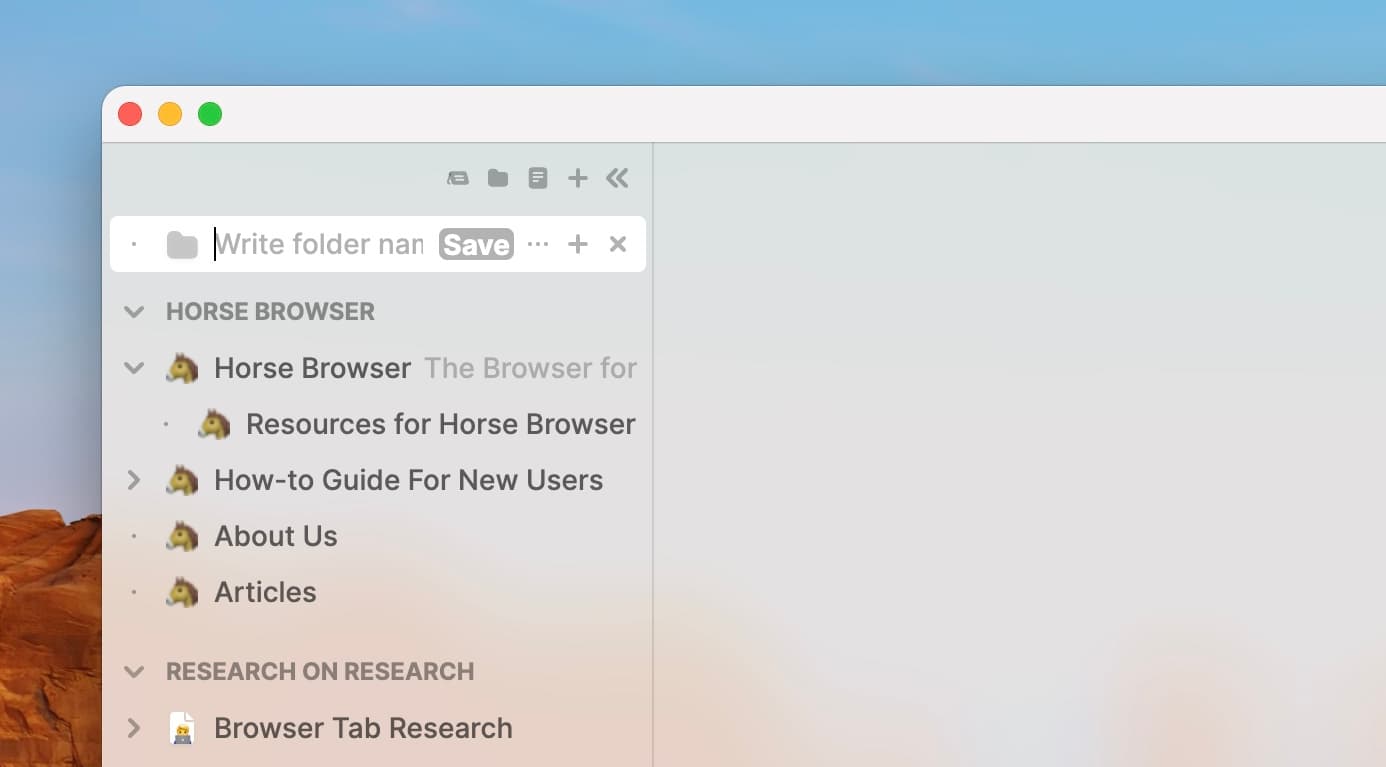
Folder feature open in Horse Browser with space to write Folder name -
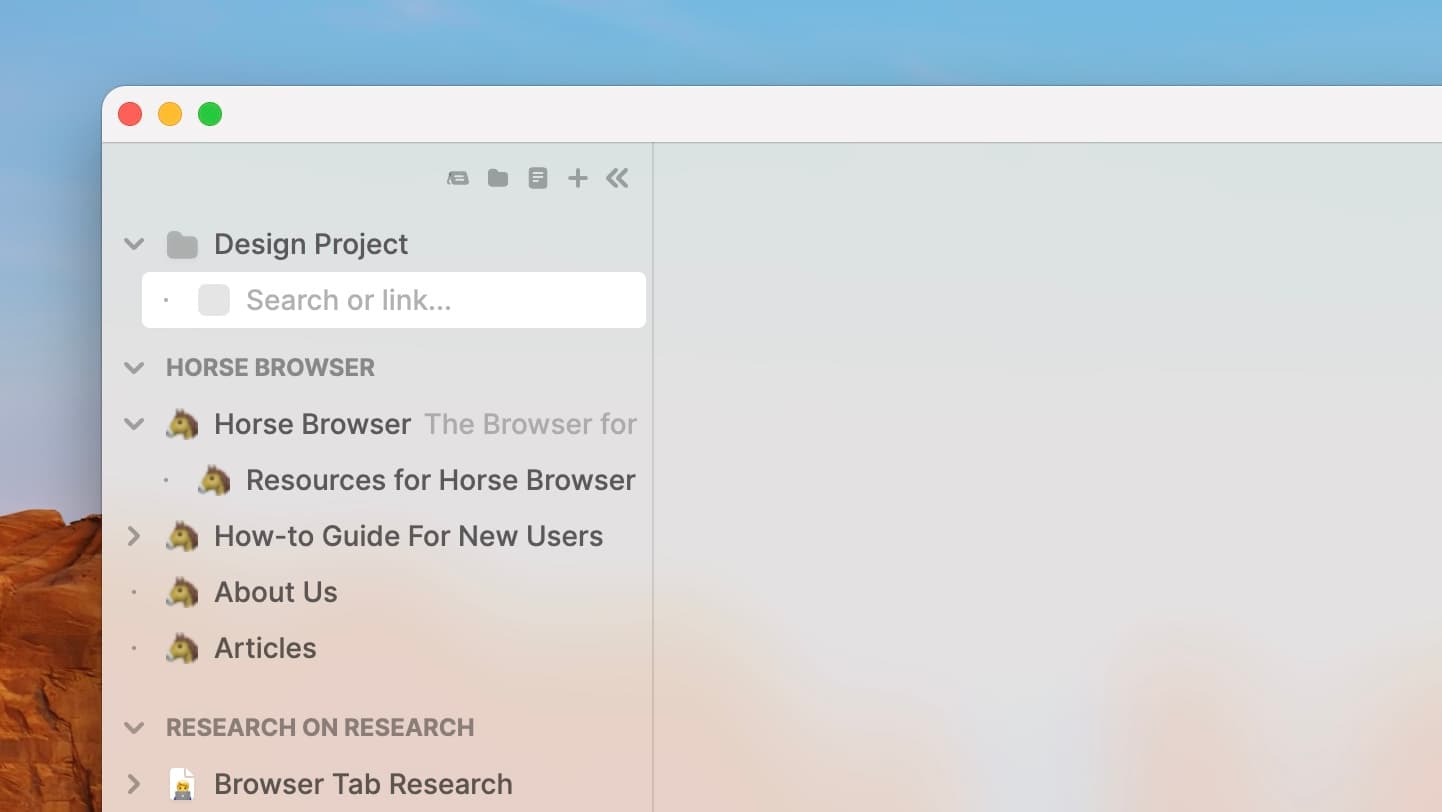
Scroll over the Folder and click + to add a Subtrail in your Folder. Or use ⌘+⌥+T. You can also add a Side Trail by using ⌘+⌥+⇧+T.

Folder feature with new blank Trail open below -
Alternatively, simply drag-and-drop Trails, Folders or Notes inside
How to Create A Trailhead in Horse Browser
-
To open a new Trailhead, click on the icon on the left at the top of the sidebar

Opening a new Trailhead feature in Horse Browser -
Write the name of your Trailhead and hit Return to save

Trailhead name input field in Horse Browser -
Scroll over the Trailhead and click + to add Subtrails to your Trailhead. Or use ⌘+T. You can also add a Side Trail by using ⌘+⌥+⇧+T.
Folder with expanded blank Trail open beneath in Horse Browser -
Alternatively, simply drag-and-drop Trails inside
More
The Trailheads, Folders and Notes guide is the more thorough version, with screenshots for each container.